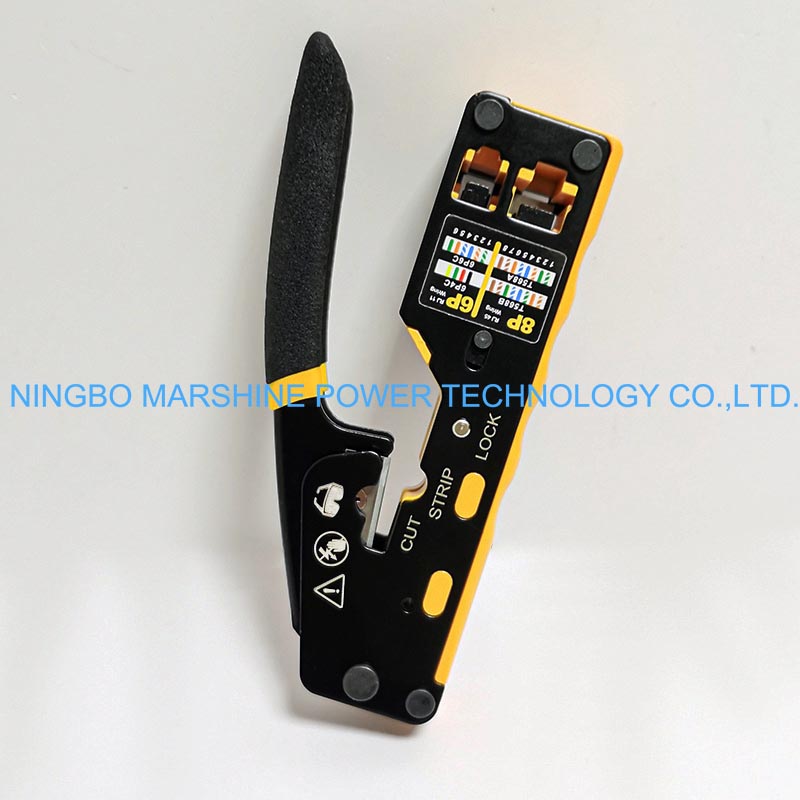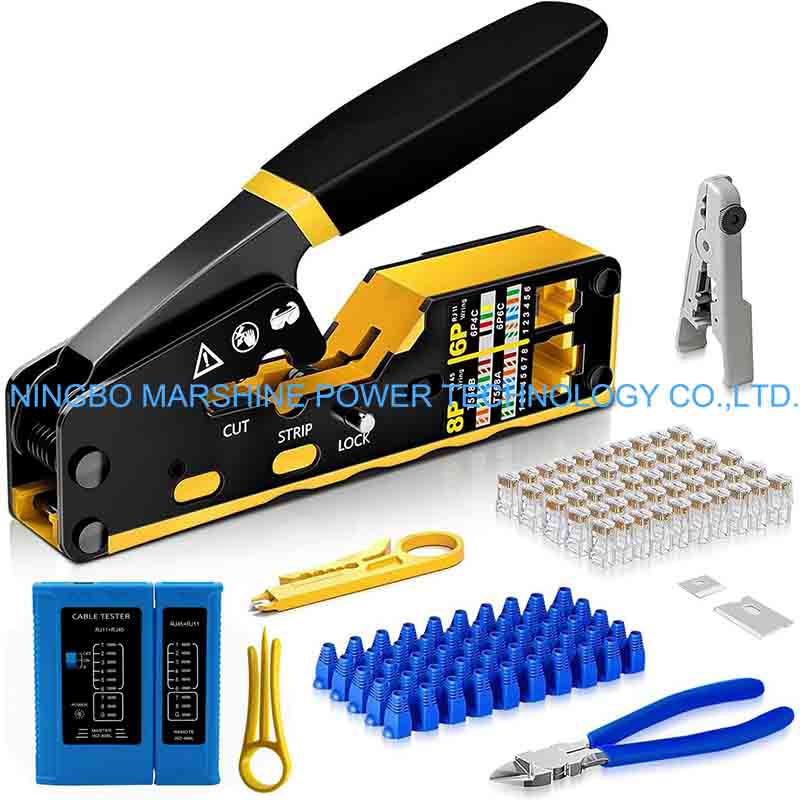
What Is MARSHINE 3-In-1 Network Cable Crimping Tool?
A MARSHINE 3-in-1 network crimping tool integrates three essential cable preparation functions,
cable cutting, cable stripping, and connector crimping. It is commonly used for installing connectors such as RJ45 (Ethernet cables), RJ11 and RJ12. Because nowadays network cable installation requires precise tools to ensure stable connections and the reliable data transmission, a portable and efficient hand tool for workers to deal with tasks become more essential. The MARSHINE 3-In-1 Professional Grade Multi-Functional Network Cable Crimping Pliers are designed to simplify the cable preparation works by combining cutting, stripping, and crimping functions in one compact tool, can effectively improve the working efficiency while reducing the labor efforts.
Key Features
Multi-functional design for cutting, stripping, and crimping;
High-precision crimping slot for stable connector termination;
Durable steel construction for long service life;
Ergonomic anti-slip handle for comfortable operation;
Compact and lightweight for easy field work;
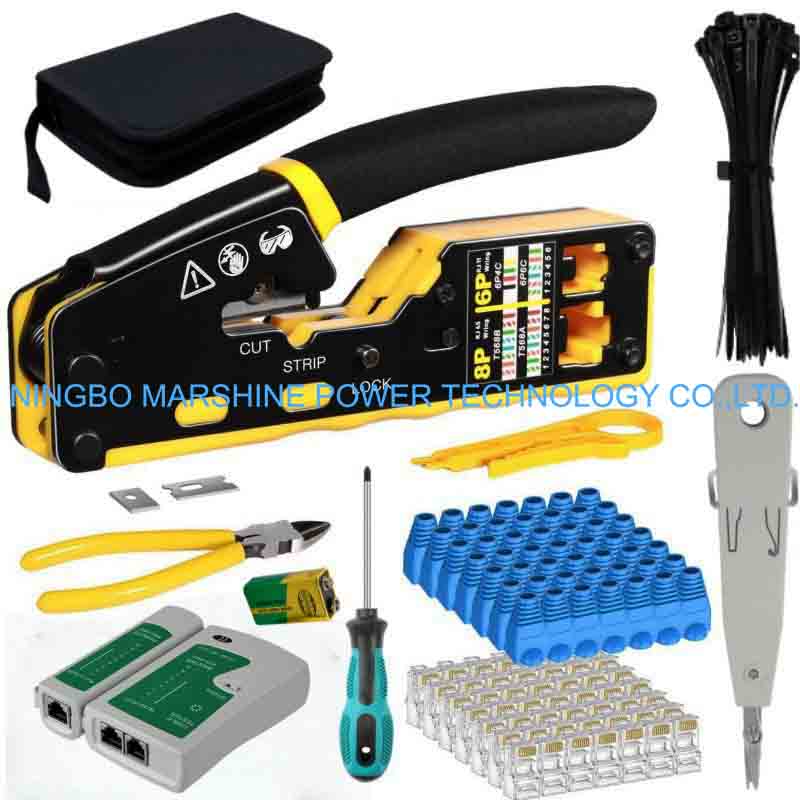
So How Can We Use MARSHINE Network Cable Crimping Pliers Properly?
Cut The Cable To Length
First, you need to use the cable cutting portion of the pliers to:
Measure the length of the cable you need.
Strip the cable if you know the length of cable you want.
Put the cable in the slot for cutting.
Squeeze handles tightly for a clean cut.
A straight cut will allow easier fits of connectors.
Strip the Outer Cable Jacket
Then, remove the outer sheath:
Take off the outer jacket.
Seat the cable in the strip groove.
Gently squeeze the handles.
Turn the tool slightly round the cable.
Pull off the shear.
Reveal around 2-3CM twisted wire pairs.
Make sure you don't cut the inner wires.
Arrange the Wires
Separate and straighten the inner wires.
Sort them following the standard wiring order.
Among the most common standards are:
T568B (best known):
White-Orange;
Orange;
White-Green;
Blue;
White-Blue;
Green;
White-Brown;
Brown.
Please make sure wires are accepting each other even.
Insert Wires into the RJ45 Connector
Cut the ends of the wires by your MARSHINE 3-In-1 Professional Grade Multi-Functional Network Cable Crimping Pliers evenly.
Push the wires firmly into the RJ45 connector.
Make sure that every wire goes all way to the front of connector.
Please check to see the order is still correct.
Crimp the Connector
Now crimping the connector the outer cable jacket, it should go a little way into the connector for a better crimp.
Place the RJ45 connector in the tool’s crimping slot.
Make sure the connector is correctly positioned.
Firmly press the handles until the crimp is finished.
This step presses the metal pins into the wires to make electrical contact.
Test the Cable Connection
Finally after crimping:
You can use a network cable tester to check each wire connection and confirm the proper signal transmission. If the cable fails the test, redo the termination.